This post will explain the process I followed to achieve an automated deployment of a Docker Hub image with version numbers.
You will need to have a few things in order before we can get started
Creating Website Files
Create your project directory wherever you prefer. For this tutorial I’ll be using ~/Projects/container-demo for the project folder.
In your terminal, navigate to this project folder and create a content folder.
cd ~/Projects/container-demo
mkdir content
Using your editor of choice, create an index.html file inside the content folder with the following content
<html>
Hello World!
</html>
Great, now we have our simple website that we’re ready to use and Generate our versioned Docker Image.
Running Container Locally
Now that we have the website data we would like to use, we can add this to an existing Docker image like nginx. We will start by testing the website files on a nginx container to ensure functionality prior to building the image.
If you’re confident, you can skip this step and go to the next section Building a Docker Image.
podman run -d -p 8008:80 -v ./content:/usr/share/nginx/html:Z,ro nginx
At this point you should be able to navigate to the website. In my case the url is http://pod1.davidspencer.xyz:8008.
Yours would most likely be http://localhost:8008 or replace localhost with the hostname/ip of your podman host.
After you have successfully accessed your Hello World! Website, you can stop and remove your container

podman container list
podman container stop <container-name>
podman container rm <container-name>
Building a Docker Image
We can now build our custom Image.
There are a few benefits to this; however one point I’d like to make is that doing this will make it so that we don’t have to mount our local files to the container every time.
Add the following text to a new file ~/Projects/container-demo/Dockerfile
FROM nginx
COPY content /usr/share/nginx/html
With this file created, you can now run the following command to build and image locally.
podman build -t container-demo .
You should see container-demo in your images now
podman image list container-demo

REPOSITORY                TAG     IMAGE ID      CREATED        SIZE
localhost/container-demo  latest  02e3e1343eda  8 seconds ago  137 MB
We can now create a container using this image to see our Hello World! Website
podman run -d -p 8008:80 localhost/container-demo
Test the site using the same URL from earlier
After a successful test, stop and remove the new container.
podman container list
podman container stop <container-name>
podman container rm <container-name>
You can delete the image after you have removed the container.
podman image rm <image id>
Initialize GitHub Repo
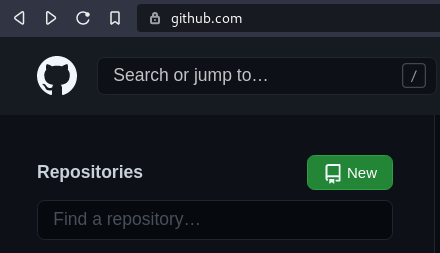
Ensure you are logged into GitHub
Click New
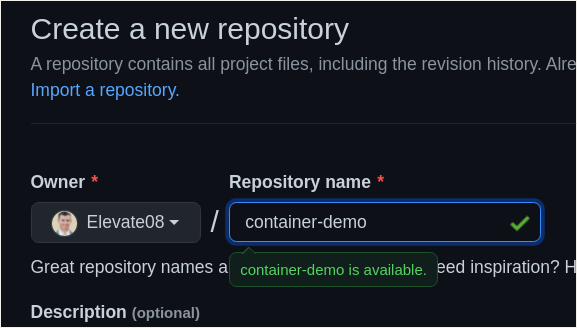
Enter a name for the repo
Click “Create Repository” at the bottom
Copy either the HTTPS or SSH URL Depending on how you use git

Back to your terminal, we’ll push our existing content to GitHub
cd ~/Projects/container-demo
git init
git add .
git commit -m "Initial Upload"
git remote add origin <repo_url>
git push -u origin master
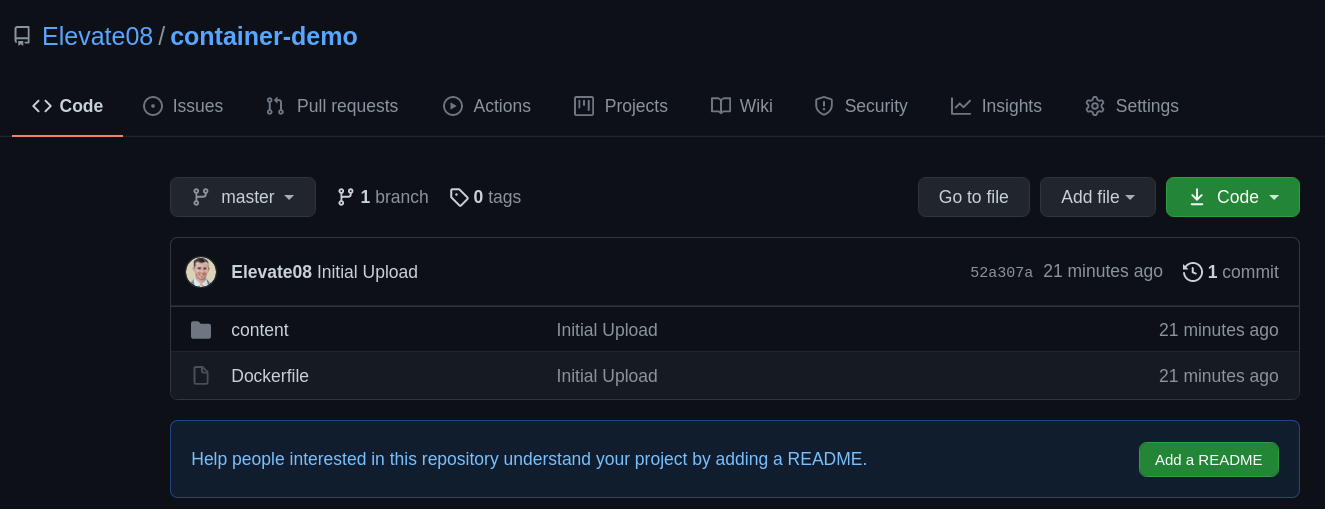
Now we should have our repo in GitHub with our project. We are now ready to build out the GitHub Actions and really tie this whole thing together.
Build GitHub Actions
cd ~/Projects/container-demo
mkdir -p .github/workflows
Add the following text to a new file,
~/Projects/container-demo/.github/workflows/main.yml
name: CI to Docker Hub

on:
  # Triggers the workflow on push events but only when they are tagged with v*.*.*
  push:
    tags:
      - "v*.*.*"

  workflow_dispatch:

jobs:
  build:
    runs-on: ubuntu-latest

    steps:
      # Check Out Repo to work with project files
      - name: Check out Repo
        uses: actions/checkout@v2

      # Login to Docker Hub
      - name: Login to Docker Hub
        uses: docker/login-action@v1
        with:
          username: ${{ secrets.DOCKER_HUB_USERNAME }}
          password: ${{ secrets.DOCKER_HUB_ACCESS_TOKEN }}

      # Uses Cache to improve build time
      - name: Cache Docker layers
        uses: actions/cache@v2
        with:
          path: /tmp/.buildx-cache
          key: ${{ runner.os }}-buildx-${{ github.sha }}
          restore-keys: |
            ${{ runner.os }}-buildx-

      # Checks-out your repository under $GITHUB_WORKSPACE,
      # so your job can access it.
      - name: Set up Docker Buildx
        id: buildx
        uses: docker/setup-buildx-action@v1

      # Sets the steps.get_version.outputs.VERSION variable
      # for proper Docker Hub Image versioning.
      - name: Get the version
        id: get_version
        run: echo ::set-output name=VERSION::${GITHUB_REF/refs\/tags\//}

      # Build Docker Image and push latest / v*.*.* to Docker Hub
      - name: Build and push
        id: docker_build
        uses: docker/build-push-action@v2
        with:
          context: ./
          file: ./Dockerfile
          builder: ${{ steps.buildx.outputs.name }}
          push: true
          tags: |
            ${{ secrets.DOCKER_HUB_USERNAME }}/container-demo:latest
            ${{ secrets.DOCKER_HUB_USERNAME }}/container-demo:${{ steps.get_version.outputs.VERSION }}
          cache-from: type=local,src=/tmp/.buildx-cache
          cache-to: type=local,dest=/tmp/.buildx-cache

      - name: Image digest
        run: echo ${{ steps.docker_build.output.digest }}
Let’s push our changes to the repo now.
git add .
git commit -m "Adding GitHub Workflow"
git push
Now we can generate our Docker Hub personal token We will also setup our GitHub Secrets.
| name | detail |
|---|---|
| DOCKER_HUB_USERNAME | Username for Docker Hub |
| DOCKER_HUB_ACCESS_TOKEN | Docker Hub Token |
Follow the directions here for generating your access token
Once you have your token go to your Repo on GitHub.com
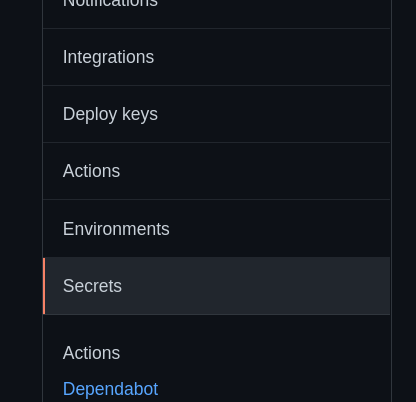
Click on Secrets
Click on New Repository Secrets
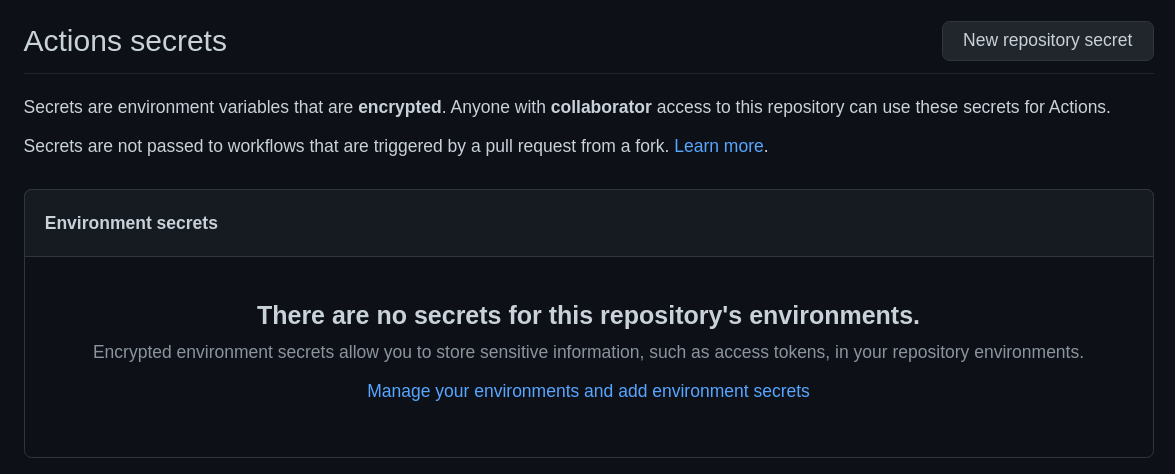
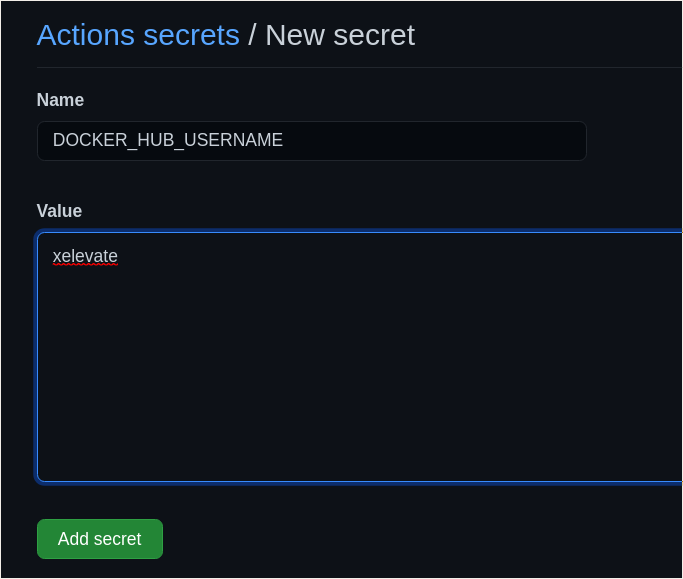
Repeat the same process for DOCKER_HUB_ACCESS_TOKEN
Push image to Docker Hub
Open content/index.html in your editor and make a change
<html>
Hello World!
v1.0.0
</html>
git add .
git tag -a v1.0.0 -m "v1.0.0"
git commit -m "releasing v1.0.0"
git push -u origin v1.0.0
You can track the action status from the Action tab on your repo
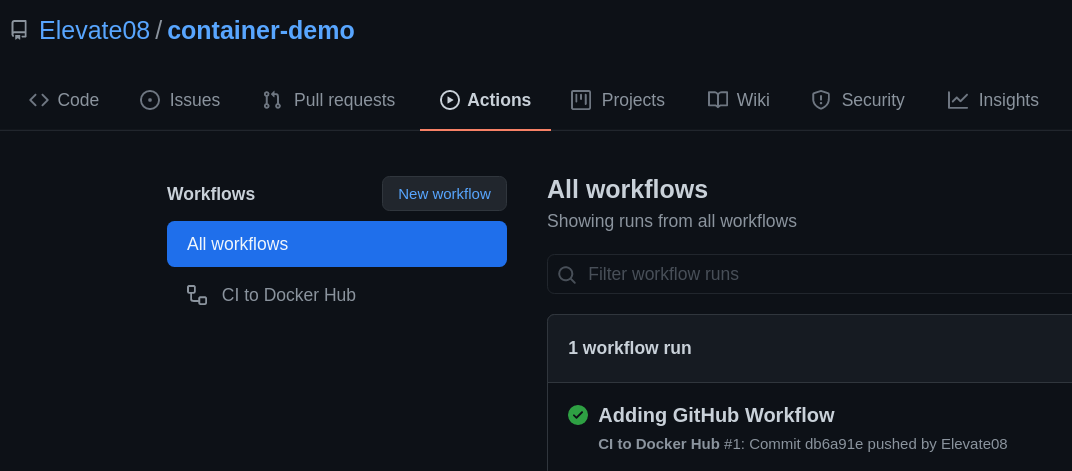
You should eventually see the image in your Docker Hub

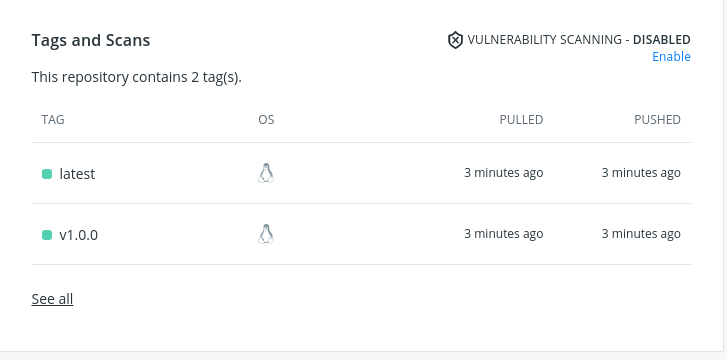
Lastly you can even see the tags on the image, v1.0.0 and latest
The latest tag will always be the latest and you’ll have a history of versions associated with the image as you make changes.
Conclusion
I hope you have found this tutorial informative and helpful. If you have any suggestions on how this can be improved, please use the “Suggest Edits” button at the top or send me an email.